
Accounting
Download this Setup Guide
Accounting> Products (Adding Products & Categories)
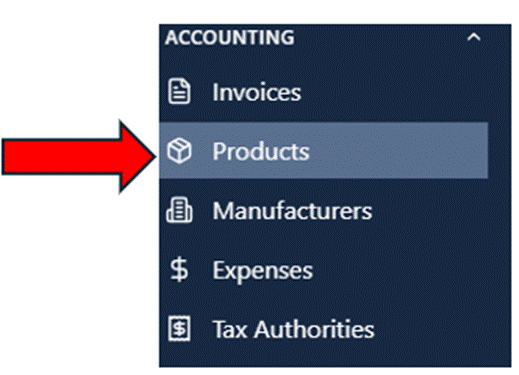
The Products dashboard is your centralized catalog for managing the items, equipment, and services your organization offers.
The dashboard is divided into two primary tabs to help you maintain a clean catalog:
- Products Tab: Displays individual items, their pricing, and specifications.
- Categories Tab: Allows you to manage the folders or groups used to classify your products (e.g., “Widgets” or “Pool Equipment”).
- Adding Categories: Click the blue + Add Category button in the top-right corner to create a new grouping for your products.
Enter Category Details
- Category Name: Provide a clear, unique title for the group (e.g., “Pool Equipment” or “Interior Finishes”).
Description: Enter a brief summary of what this category includes to help your team classify products correctly.
Parent Category: Use the dropdown to nest this category under an existing one, or leave it as “No Parent (Top Level)” if it is a primary group.
Display Order: Enter a numerical value to determine where this category appears in dropdown menus; categories with lower numbers are displayed first.
Published Toggle: Ensure this is enabled (blue) if you want the category to be immediately available for selection in projects and product entries.
Create Category: Click the blue button at the bottom right to save the new category to your dashboard.
Adding Products: Click the blue + Add Product button
This form allows you to define the product’s specifications, pricing, and inventory settings for use in project estimates and management.
Explanation of Product fields
- Image: Click the image placeholder to upload a photo of the product.
- Product Name: Enter the required, unique name for the item (e.g., “Pentair IntelliFlo Pump”).
- SKU: Assign a unique Stock Keeping Unit identifier for internal tracking.
- Category: Select a pre-defined category from the dropdown menu to group this item with similar products.
- Unit Price: Define the standard selling price for the item.
- Cost: Enter the internal cost of the product to help calculate project profit margins.
- Unit of Measure: Select the relevant unit (e.g., Each, Linear Foot, Square Foot) from the dropdown.
- Description: Provide a detailed summary of the product’s features or technical specifications.
- Quantity on Hand: Enter the current number of units available in your inventory.
- Reorder Level: Set a threshold to receive an automated alert when stock falls below a specific level.
- Status Toggles:
- Published: Enable this to make the product active and selectable for new projects.
- Taxable: Toggle this on if the item is subject to sales tax.
- Product Kit: Enable this if the item is a bundle of multiple individual products.
- Recurring Billing: If the product represents a subscription or service, click Enable to configure the Billing Period, frequency, and Total Cycles.
- Create Product: Click the blue button at the bottom right to save the new item.
Accounting> Tax Authorities
The Tax Authorities dashboard is a centralized workspace used to manage the various tax jurisdictions and associated rates that apply to your organization’s projects.
Adding a New Tax Authority
To add a new jurisdiction, click the blue + Add Tax Authority button in the top-right corner.
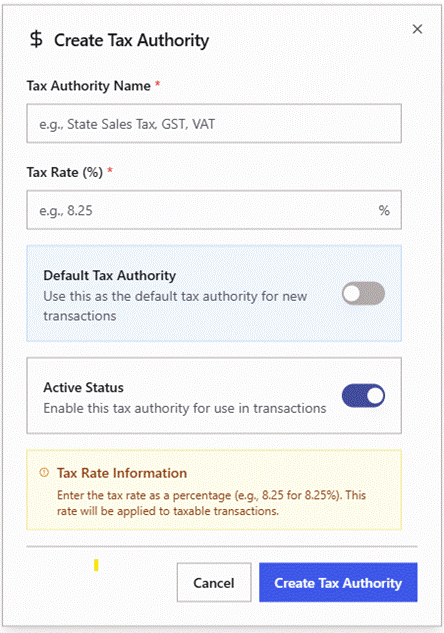
Tax Authority Name: Enter the official name of the jurisdiction, such as a specific city or state sales tax.
Tax Rate (%): Input the applicable percentage as a numerical value (e.g., enter 8.25 for a rate of 8.25%). This rate will be applied to all taxable items associated with this authority.
Default Tax Authority: Toggle this switch to Active (blue) if you want this specific jurisdiction to be automatically applied to all new transactions that do not have another authority assigned.
Active Status: Ensure this toggle is enabled to make the authority available for use in live transactions. If disabled, the authority will be saved but hidden from selection menus.
Create Tax Authority: Click the blue button at the bottom right to save the new rate.
Accounting> Expense Categories
- Expenses Tab: Used to record and view individual cost entries, such as material purchases or labor costs.
- Categories Tab (Active): Used to manage the organizational folders that classify your costs (e.g., Job Expenses or Sub Invoice).
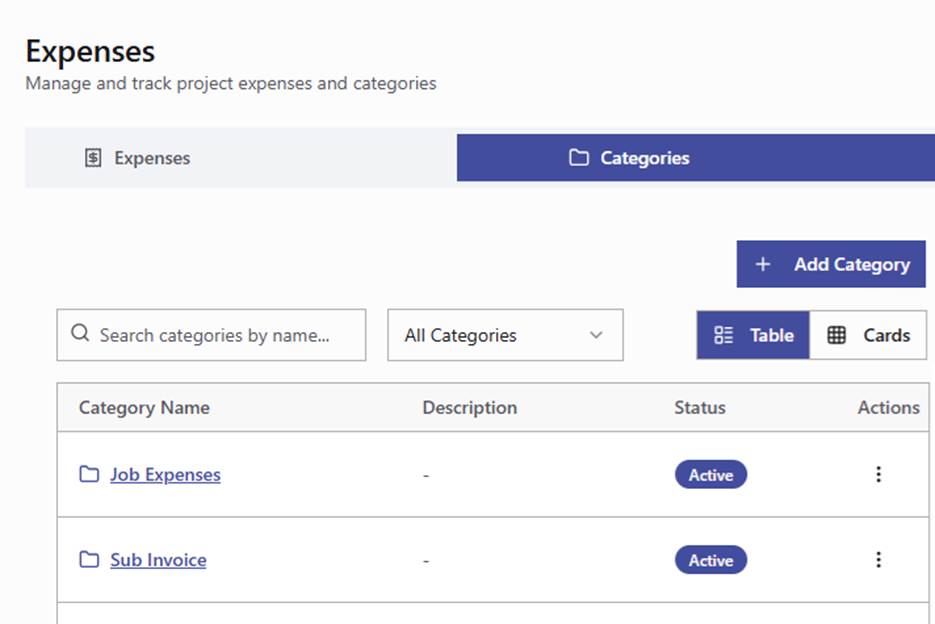
Add Category: Click the blue + Add Category button in the top-right corner to create a new classification for your project costs.
To set up a new expense classification, provide the following information:
- Category Name: Enter a clear, unique title for the group, such as “Materials” or “Labor Costs”. This field is required to create the record.
- Description: Use this area to provide a summary of what should be filed under this category to help your team maintain consistent record-keeping.
- Active Toggle: Ensure this is enabled (blue) to make the category immediately available for logging new project expenses.
- Create Category: Saves the new classification and adds it to your active Categories list in the Expenses dashboard.